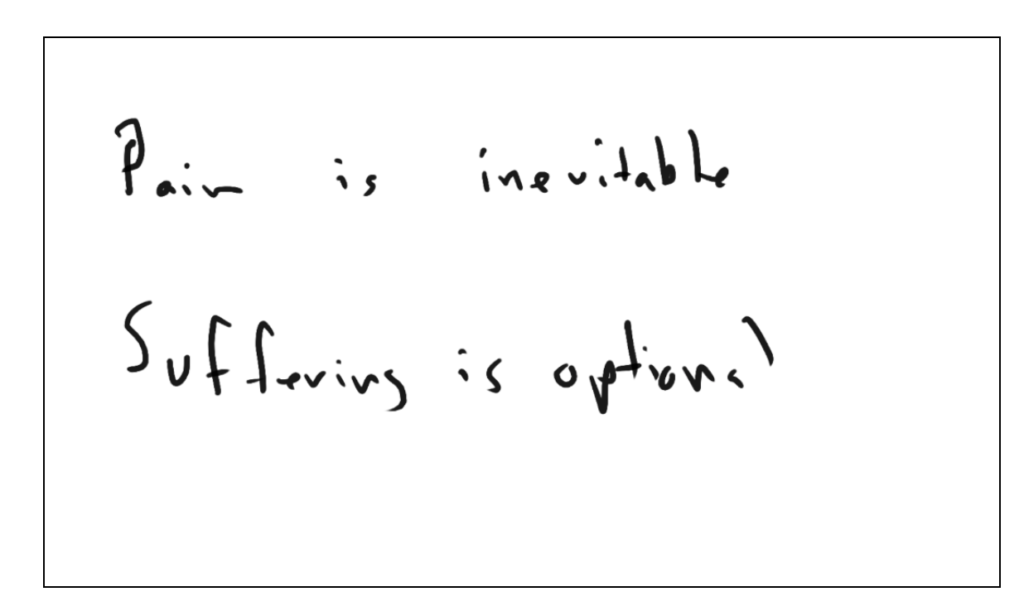
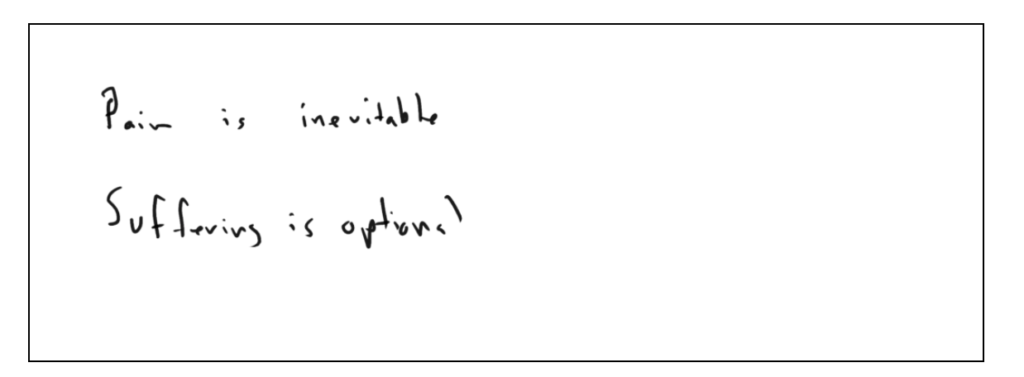
I had some images that were on white backgrounds and when I put them on my white backgrounded site, they looked a little weird to me without a border. Just text hanging in space:

I wanted them to have a border. There’s plugins for this but I wanted something simpler. Here’s how I did it.
Creating a Border Around a Block
Add Additional CSS
Go to the Gutenberg Customizer and choose “Additional CSS”

Enter a new class. I choose the name “img-border”

Apply It To The Image
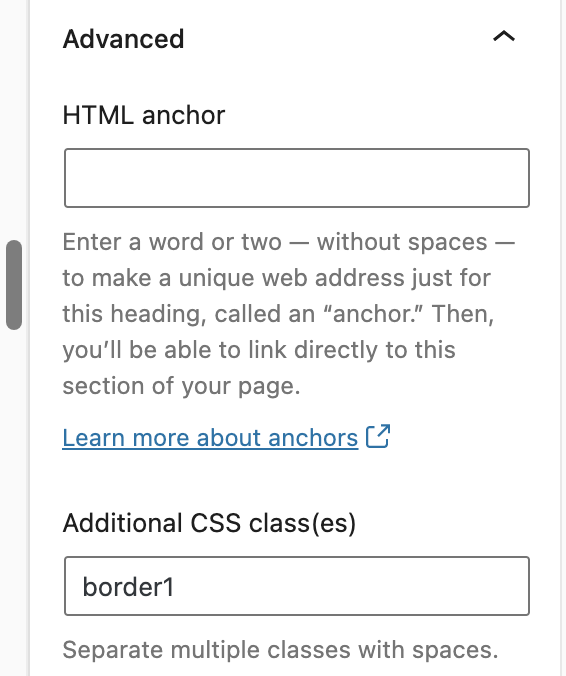
Now go to the post, select the image and under Block>Advanced you’ll see this:

Change the “Additional CSS class(es)” to include the new class:

View The Results
Publish and view the results. (Note: You won’t see the changes in the block editor, only on the published page, which is a bummer):

I noticed quickly, that if I resized the image the border did not resize with the image. The block kept the border:

This is because we’ve applied the border to the block. What if we want to apply the border to just the image? How do I get the border around the image only?
Solution 1: Put the Image in the Cell of a Column
One workaround is to create a 2-column block and then put an image block within that block. Then apply the border to that new image block. Since the cell and the image share the same dimensions, the border is around the images.
But this is a bit hacky.
Solution 2: Put the Border Around Just The Image
The problem I was having was that the “Additional CSS class(es)” field on the element only applied to the <div> level (the block itself). I wasn’t sure how to apply the class to the image within the block. All I had access to was the block element.
After some research and experimentation, here’s what I did.
The issue was that I had forgotten how selectors work.
To begin, let’s start with stating what we want: I want the site to add a border whenever I put {a custom class name I make up} into a block’s “Advanced > Additional CSS class(es)” field. Let’s name this custom class “border1” and put it into the field:

Now when wordpress displays this block, it will apply this class called “border1”.
But “border1” is not defined anywhere. All I did was put a made up word, “border1”, into this block. WordPress needs to know what to do.
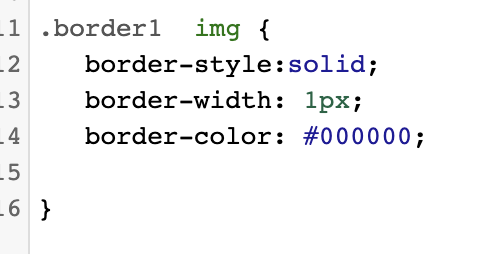
Here’s how we define the custom class “border1” in the “Additional CSS” section of the site:

How do we read this?
Think of the logic here as saying “look for this thing, then apply {this formatting} to that thing”.
The “look for this thing” part is called a selector. Selectors are patterns used to select the element(s) you want to style.
The first part of the selector: We are looking for an occurance of the class “border1”. (The dot in front of a word signifies that it is a class). When we find it, we always find it in an element (eg, <div> or <figure>).
The second part of the selector: Now we’ve identified that element, in this case the block element marked up using the <figure> tag. Here’s a snippet from the inspector:

Now we read the next part of the selector, which is the space character between “.border1” and “img”. (The space is one of 4 types of combinators. The space combinator says “select the descendant elements”. This is the most used combinator but there’s others to look at adjacent elements, child elements and others.)
The space character indicates that we follow the elements downward and look for what is after the space.
The third part of the selector: So following the instructions of the space character, we look for all “img” elements under the element that has the “.border1” class (in our case, this particular <figure> element).
End of Selection: Since the next part is curly brackets, we know to apply that the selecting is over.
Now the formatting: We now format the last element mentioned, the “img” element based on what is in the curly brackets.
Note: our selector will find all occurances of what the selector identifies and apply the style to all of them.